Blush is the unsung hero of the makeup world. It’s the secret to a healthy, youthful glow and can instantly brighten your complexion. Applying blush correctly can make you look radiant and refreshed, but the wrong technique can leave you looking overdone. Here’s how to master the art of blush application for that perfect natural flush.
Why Blush Matters
“Blush is the key to a youthful, healthy glow. It’s the simplest way to add a touch of warmth and radiance to your complexion.” – Gucci Westman, Celebrity Makeup Artist (Source: Gucci Westman Beauty)
Blush mimics the natural flush that comes from exercise, excitement, or a touch of sun. It adds dimension to your face and can even enhance your facial features. The right blush can make you look awake and vibrant, even if you’re feeling tired.
Choosing the Right Blush Formula
“Don’t be afraid to experiment with different blush formulas. Cream blushes offer a dewy, natural finish, while powder blushes provide longer-lasting wear.” – Sir John, Celebrity Makeup Artist (Source: Vogue)
Powder Blush
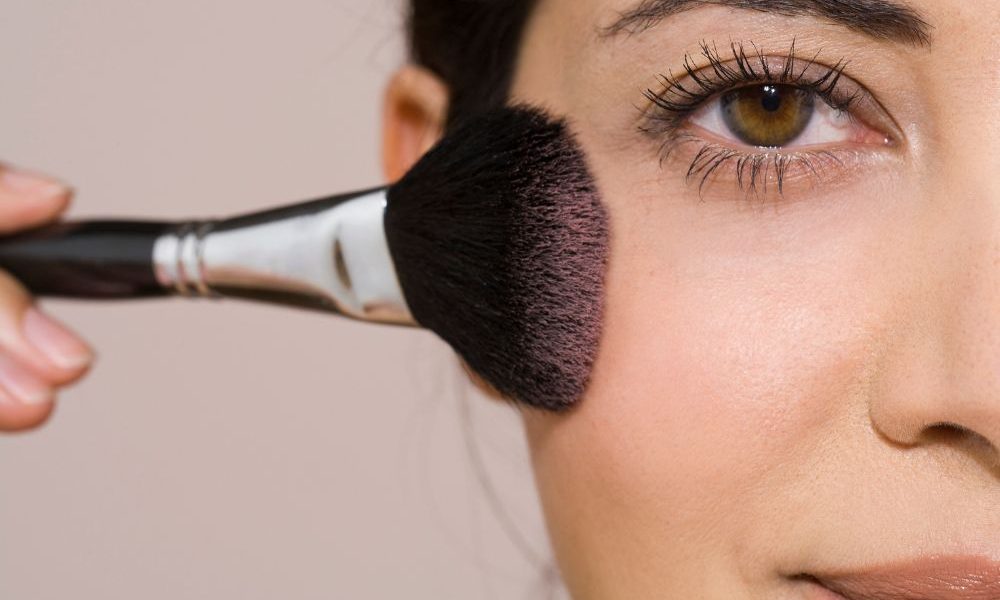
Powder blushes are versatile and suitable for all skin types, especially oily skin. They provide a matte finish and are easy to build up for more intensity. Use a fluffy brush to apply powder blush for a soft, diffused look.
Cream Blush
Cream blushes are ideal for dry or mature skin types as they add a dewy, youthful glow. They blend seamlessly into the skin and can be applied with fingers or a brush. They offer a natural, skin-like finish.
Gel and Liquid Blush
These formulas provide a sheer, buildable color and are perfect for a natural, barely-there look. They are great for all skin types and can be applied with fingers, a sponge, or a brush.
Finding Your Perfect Shade
“The right blush shade can make all the difference. Choose a shade that mimics your natural flush when you exercise or get excited.” – Bobbi Brown, Makeup Artist and Founder of Jones Road Beauty (Source: Jones Road Beauty)
Fair Skin
If you have fair skin, opt for light pinks, peaches, and soft corals. These shades add a subtle hint of color without overpowering your complexion.
Medium Skin
For medium skin tones, go for rosy pinks, warm apricots, and rich peaches. These shades enhance your natural warmth and add a healthy glow.
Olive Skin
Olive skin tones look great with deeper pinks, warm bronzes, and coral shades. These colors complement the green undertones in your skin.
Dark Skin
Deep plums, berry shades, and rich reds are perfect for darker skin tones. These vibrant shades provide a stunning pop of color.
Blush Application Techniques
“The placement of your blush is crucial for achieving a natural flush. Smile and apply the blush to the apples of your cheeks, blending upwards towards your temples.” – Patrick Ta, Celebrity Makeup Artist (Source: Patrick Ta Beauty)
Classic Application
- Smile: Smile to find the apples of your cheeks.
- Apply: Apply blush to the apples of your cheeks.
- Blend: Blend upwards towards your temples for a lifting effect.
Sculpting Application
- Contour: Apply blush slightly below the apples of your cheeks.
- Blend: Blend towards your ears, following your cheekbones. This technique sculpts your face and adds dimension.
Natural Flush
- Light Touch: Use a light touch to apply blush to the apples of your cheeks.
- Diffuse: Blend well for a subtle, diffused effect.
Draping
- Cheekbones: Apply blush along your cheekbones.
- Blend: Blend up towards your temples and around your eyes. This technique creates a more dramatic look and enhances your natural bone structure.
Personal Anecdote: When I first started experimenting with blush, I used to apply it too low on my cheeks, which made my face look droopy. A makeup artist friend taught me to blend upwards towards my temples, and it completely transformed my look. Now, my face looks lifted and more youthful.
Blush Placement for Different Face Shapes
Round Face
For round faces, apply blush slightly higher on the cheeks and blend towards the temples. This technique creates the illusion of a more elongated face.
Oval Face
Oval faces can apply blush directly to the apples of the cheeks and blend outwards for a balanced look.
Square Face
For square faces, apply blush to the apples of the cheeks and blend towards the temples in a circular motion. This softens the angles of the face.
Heart Face
For heart-shaped faces, apply blush to the apples of the cheeks and blend outwards and slightly downwards. This balances the broader forehead and narrow chin.
Tools for Blush Application
Brushes
- Fluffy Brush: Ideal for powder blush, provides a soft, diffused application.
- Stippling Brush: Great for cream and liquid blush, offers a light, buildable application.
- Angled Brush: Perfect for sculpting and contouring with blush.
Sponges
- Beauty Blender: Excellent for cream and liquid blush, blends seamlessly into the skin.
- Wedges: Great for precise application and blending.
Fingers
Using your fingers for cream and gel blushes warms the product, making it easier to blend into the skin for a natural finish.
Setting Your Blush
To ensure your blush lasts all day, set it with a light dusting of translucent powder. This step is especially important for oily skin types or during warmer months.
Personal Anecdote: I used to skip setting my blush because I thought it looked too powdery. However, after trying it during a particularly hot summer, I realized how much longer my makeup lasted. Now, I always set my blush with a bit of translucent powder, and it stays put all day.
Common Blush Mistakes and How to Avoid Them
Applying Too Much Product
Start with a small amount of product and build up gradually. It’s easier to add more blush than to remove excess.
Not Blending Properly
Blending is crucial for a natural look. Use a clean brush or sponge to blend the edges of your blush, ensuring there are no harsh lines.
Using the Wrong Shade
Choose a shade that complements your skin tone and undertone. A mismatched shade can look unnatural.
Ignoring Your Face Shape
Consider your face shape when applying blush. The right placement can enhance your features and balance your proportions.
The Psychological Impact of Blush
“Color correcting can be a game-changer for those with hyperpigmentation, rosacea, or other skin concerns. It can help even out your skin tone and boost your confidence.” – Dr. Shereene Idriss, Dermatologist
Blush isn’t just about adding color to your face. It can also have a significant impact on your mood and confidence. A touch of blush can make you look healthier and more awake, which in turn can make you feel more confident and ready to face the day.
Conclusion
Blush is a powerful tool in your makeup arsenal. When applied correctly, it can brighten your complexion, enhance your features, and give you a youthful glow. By understanding your skin tone, choosing the right formula, and mastering the proper techniques, you can achieve a natural flush that makes you look and feel your best.
Remember, makeup is an art form, and blush is one of the most versatile tools at your disposal. Experiment with different shades, formulas, and techniques to find what works best for you. With practice and a bit of creativity, you’ll master the art of applying blush for a natural, beautiful flush.