Eyebrows are the frame to the face. They can completely change your look. – Anastasia Soare, Founder of Anastasia Beverly Hills
Eyebrows play a crucial role in defining our facial features. A well-groomed eyebrow can enhance your look, make your eyes pop, and give you a polished appearance. However, achieving natural-looking brows can be a bit of an art. Here’s a comprehensive guide on how to fill in your eyebrows for a natural look, with tips from top makeup artists and personal anecdotes.
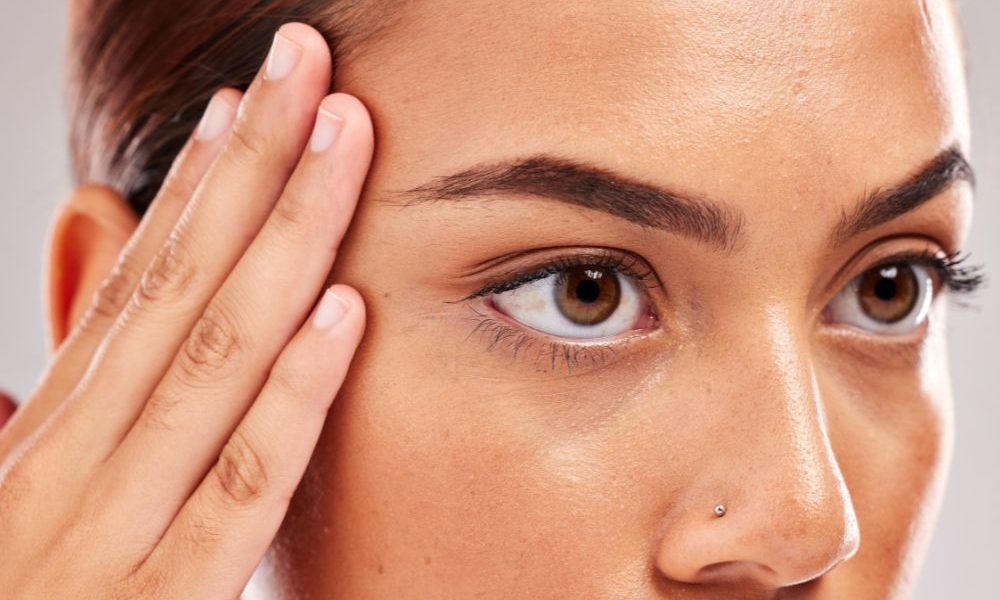
Understanding Your Brows
Before you begin filling in your eyebrows, it’s essential to understand your natural brow shape and what suits your face best. The key to natural-looking brows is to work with your existing brow shape, not against it. Enhance what you have, don’t try to create something entirely new. – Bobbi Brown, Makeup Artist and Founder of Jones Road Beauty
Identify Your Natural Shape
Look at the natural arch of your brow and the direction of hair growth. Use a spoolie brush to comb through your brows and get a clear view of their shape. Your natural brow shape is your best guide. Trying to drastically change it can result in an unnatural look.
Assess Brow Thickness
Thick brows can be tamed and shaped, while thinner brows might need more filling. Keep in mind that the goal is to enhance, not overpower. If you have naturally thick brows, a little filling to define the shape may be all you need. For thinner brows, you might need to fill in more gaps.
Choosing the Right Products
The products you choose can make a significant difference in achieving a natural look. Here are some recommendations from makeup experts.
Brow Pencil
Pencils are great for precise application and mimicking hair strokes. Choose a brow product that matches your hair color or is one shade lighter. This will create a more natural look and prevent your brows from looking too harsh or drawn-on. – Patrick Ta, Celebrity Makeup Artist
Brow Powder
Powder gives a soft, natural finish. It’s perfect for filling in sparse areas and creating a diffused look. It’s especially good for those with oily skin, as it tends to stay put better than creams or gels.
Brow Gel
Gels help to set the brow hairs in place and can add a bit of color. They are great for a quick touch-up and for keeping unruly hairs in check. Clear gels are excellent for a natural look, while tinted gels can add some fullness.
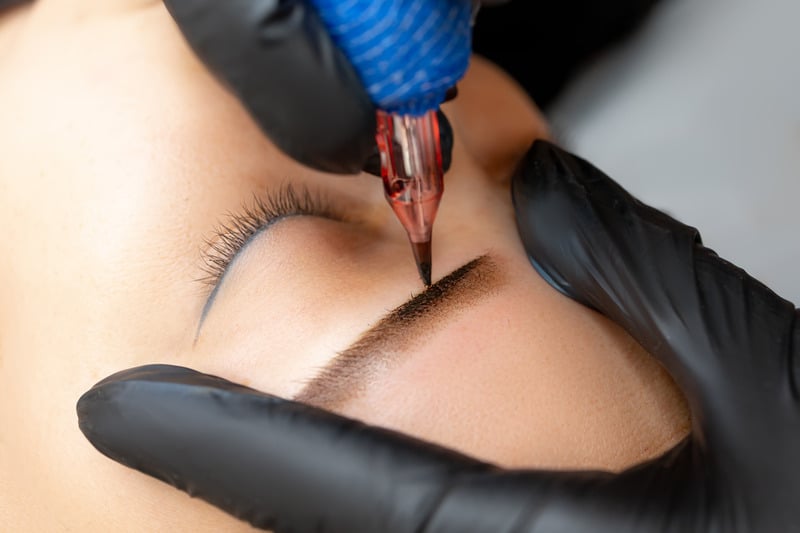
Brow Pomade
Pomades are great for defining and filling in brows but can be tricky to use if you’re aiming for a natural look. They provide a more intense color payoff and are best for creating more dramatic brows.
Step-by-Step Guide to Filling in Your Brows
Now that you have the right tools, let’s dive into the step-by-step process of filling in your eyebrows for a natural look.
Step 1: Brush Your Brows
Use a spoolie brush to comb your brows upward and outward. This helps you see their natural shape and identify any sparse areas that need filling.
Step 2: Outline Your Brows
Using a light hand, outline the bottom of your brow with a brow pencil that matches your hair color. This step defines the shape without making it look too harsh. Start from the inner corner and work your way to the tail of the brow.
Step 3: Fill in Sparse Areas
When filling in your brows, use light, feathery strokes to mimic the look of natural hairs. Avoid harsh lines and heavy-handed application. – Isamaya Ffrench, Makeup Artist
Focus on sparse areas, using short, hair-like strokes. Fill in gaps, but don’t overdo it. Remember, less is more.
Step 4: Blend for a Natural Finish
Don’t neglect your brow brush! Use it to blend out any harsh lines and create a soft, diffused finish. Brushing your brows upwards can also help to lift and open up your eyes. – Hung Vanngo, Celebrity Makeup Artist
Use a spoolie or a clean mascara wand to blend the product into your brows. This helps soften any harsh lines and makes the brows look more natural.
Step 5: Set Your Brows
If you have unruly brow hairs, use a clear or tinted brow gel to set them in place. This step ensures that your brows stay put all day.
Step 6: Highlight the Brow Bone (Optional)
For an extra polished look, apply a subtle highlighter or a light-colored concealer just below your brow bone. This step lifts the brows and adds a bit of brightness to your eyes.
Tips for Different Brow Types
Different brow types may require slightly different techniques to achieve the best results.
Thick Brows
For those with thick brows, focus on defining the shape and taming any unruly hairs. Use a pencil or powder to fill in sparse areas lightly, and set with a clear gel.
Thin Brows
If you have thin brows, you might need to fill in more. Use a brow pencil or pomade to create hair-like strokes, focusing on sparse areas. Finish with a tinted brow gel to add volume.
Sparse Brows
Sparse brows benefit from both filling and setting. Use a pencil to create hair-like strokes and a powder to add fullness. Set with a tinted gel for a fuller look.
Arched Brows
If you have naturally arched brows, focus on enhancing the arch without overdoing it. Use a pencil to define the shape and fill in sparse areas, blending well for a natural look.
Personal Anecdotes
As someone who has always had naturally thin eyebrows, learning how to fill them in effectively has been a game-changer. I used to overpluck my brows in high school, resulting in barely-there arches that made me self-conscious. It wasn’t until I discovered the right techniques and products that I could achieve a natural, fuller look that boosted my confidence.
I remember the first time I nailed my brow routine. I was preparing for a friend’s wedding and wanted everything to be perfect. I used a brow pencil to create light, feathery strokes, filled in with a bit of powder, and set my brows with a tinted gel. The results were amazing, and I received so many compliments on my brows that day. It made all the practice and effort worthwhile.
Expert Insights
Importance of Symmetry
Symmetry plays a crucial role in the appearance of your brows. Ensure that both brows are as symmetrical as possible. However, remember that they are sisters, not twins – a little variation is natural and can add to the overall natural look.
Tailoring to Your Face Shape
Consider your face shape when shaping your brows. For example, if you have a round face, a slightly higher arch can add length to your face. If you have a square face, softer, rounded brows can balance your features.
Maintaining Your Brows
Regular maintenance is essential to keep your brows looking their best. Trim any long hairs, and pluck only the stray hairs outside your brow shape. Avoid overplucking, as it can lead to thin, uneven brows.
Conclusion
Filling in your eyebrows for a natural look is all about enhancing your natural beauty. By understanding your brow shape, choosing the right products, and applying them with a light hand, you can achieve beautifully defined brows that frame your face perfectly.
Remember, practice makes perfect. Don’t get discouraged if you don’t get it right the first time. With these tips and techniques, you’ll be able to create natural-looking brows that enhance your features and boost your confidence.
Whether you’re heading to work, a special event, or just want to feel put together, well-groomed eyebrows can make a significant difference in your overall appearance. So take your time, experiment with different products and techniques, and most importantly, have fun with your beauty routine!