Blending eyeshadow can seem tricky, but with the right tips, anyone can do it like a pro. Whether you’re new to makeup or just looking to improve your skills, this guide will help you achieve a flawless look. Let’s dive into the world of eyeshadow blending!
Why Blending is Important
Blending eyeshadow is crucial for a polished and seamless look. According to Lisa Eldridge, a renowned makeup artist, “Blending is the key to a seamless and polished look. It’s not about the exact placement of the eyeshadow, but rather how you transition the colors to create a natural gradient” (Source: Lisa Eldridge’s YouTube Channel). This means that blending helps to soften the edges and create a smooth transition between colors, making your eyeshadow look more natural and professional.
Tools You Need
Before we start, let’s gather the tools you’ll need:
- Eyeshadow Brushes: A variety of brushes, including a fluffy blending brush, a flat shader brush, and a small detail brush.
- Eyeshadow Palette: Choose a palette with a mix of light, medium, and dark shades.
- Primer: Helps the eyeshadow stay in place and look vibrant.
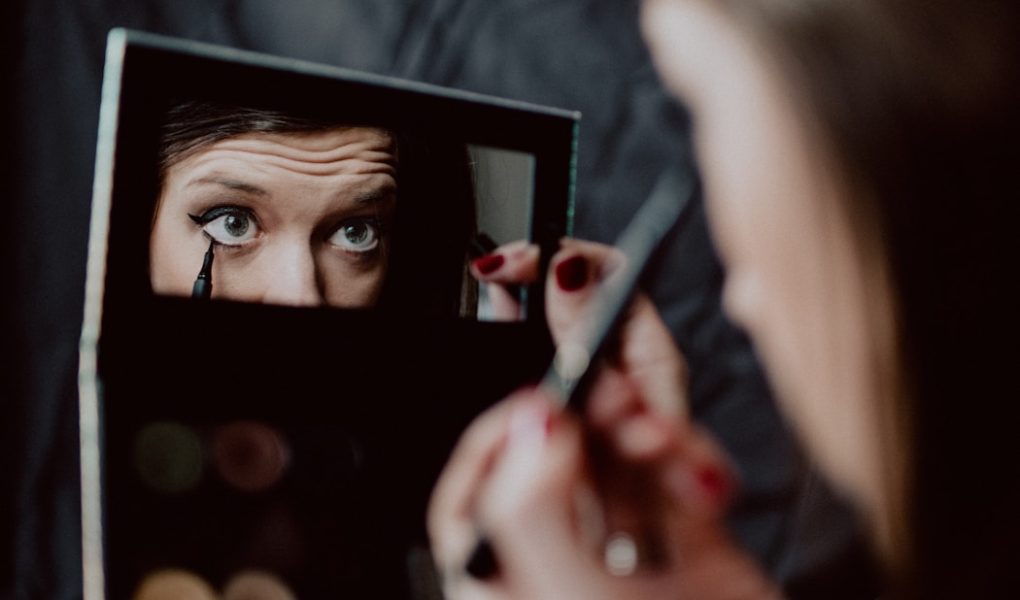
- Mirror: A good mirror with proper lighting.
Step-by-Step Guide to Blending Eyeshadow
Step 1: Prime Your Eyelids
Start by applying a primer to your eyelids. This helps the eyeshadow stick better and last longer. It also makes the colors pop.
Step 2: Apply a Base Color
Choose a light, neutral shade and apply it all over your eyelid using a flat shader brush. This will create a smooth base for the other colors.
Step 3: Add a Transition Shade
Next, pick a medium shade and apply it to your crease using a fluffy blending brush. This is where blending becomes important. Use a light hand and blend the color back and forth in a windshield wiper motion. Mario Dedivanovic, a celebrity makeup artist, advises, “Start with a light hand and build up the intensity gradually. This way, you can control the amount of color and avoid any harsh lines” (Source: Mario Dedivanovic’s Instagram).
Step 4: Deepen the Crease
To add depth, choose a darker shade and apply it to the outer corner of your eye and into the crease. Blend it well with the transition shade to avoid any harsh lines. Bobbi Brown, a famous makeup artist, emphasizes, “Don’t forget about the crease! Blending the eyeshadow in the crease is crucial for creating dimension and depth in the eye” (Source: Bobbi Brown – Beauty Blog).
Step 5: Highlight the Brow Bone
Apply a light, shimmery shade to your brow bone to highlight and lift your eyes. Use a small detail brush for precision.
Step 6: Blend, Blend, Blend
Now, take a clean blending brush and go over the edges of your eyeshadow to soften any harsh lines. Wayne Goss, a beauty blogger and makeup artist, suggests, “Use a clean blending brush to soften the edges and create a seamless transition between the colors. A fluffy brush is ideal for this purpose” (Source: Wayne Goss YouTube Channel).
Step 7: Add Finishing Touches
Finally, you can add eyeliner and mascara to complete your look. If you want to add more drama, you can also apply a bit of the dark shade to your lower lash line and blend it out.
Tips and Tricks
Use Your Fingers
Don’t be afraid to use your fingers! Patrick Ta, a celebrity makeup artist, says, “The warmth of your fingertips helps to melt the eyeshadow and create a more diffused look” (Source: Patrick Ta – Makeup by Patrick Website). This can be especially helpful for applying shimmery shades.
Choose the Right Brushes
The type of brush you use can make a big difference. A study titled “The Impact of Brush Density and Texture on Eyeshadow Blending Efficiency” found that different brush types and characteristics play a significant role in blending efficiency. Fluffy brushes are great for blending, while denser brushes are better for packing on color.
Consider Your Eye Shape
Different eye shapes may require different techniques. A study called “The Influence of Eyelid Anatomy and Skin Tone on Eyeshadow Blending Techniques” analyzed how different eyelid shapes, skin tones, and textures impact the effectiveness of various blending techniques. For example, if you have hooded eyes, you might need to apply the eyeshadow a bit higher on your lid to make it visible.
Personal Anecdotes
When I first started using eyeshadow, I struggled with blending. My eyeshadow always looked patchy, and I couldn’t figure out why. One day, I watched a tutorial by Lisa Eldridge, and her advice about blending changed everything for me. I realized that I was using too much product and not blending enough. By using a light hand and blending in circular motions, my eyeshadow started to look much better.
Another time, I was in a rush and didn’t have my brushes with me. I remembered Patrick Ta’s tip about using fingers, so I gave it a try. To my surprise, the eyeshadow blended beautifully, and I even got compliments on my makeup that day!
Conclusion
Blending eyeshadow like a makeup artist is all about practice and using the right techniques. Remember to start with a light hand, use the right brushes, and blend, blend, blend! With these tips, you’ll be able to create a seamless and polished look every time.
By following these simple steps and incorporating the expert advice from Lisa Eldridge, Patrick Ta, Mario Dedivanovic, Wayne Goss, and Bobbi Brown, you’ll be well on your way to mastering the art of eyeshadow blending. Happy blending!
References
- Lisa Eldridge’s YouTube Channel
- Patrick Ta – Makeup by Patrick Website
- Mario Dedivanovic’s Instagram
- Wayne Goss YouTube Channel
- Bobbi Brown – Beauty Blog